Hey there loyal readers. This here is part 2 of our fused glass tutorial series Suspended in Amber.
We divided this series into 3 parts. Part 1, where we talk about technique and firing, is here. Part 3, where we describe technique for tests 6-9, is now live.
So lets get started shall we? For this series, we really wanted to play with the interesting characteristics unique to glass: depth, flow and bubbles. We tried nine different permutations of the amber insects.
Test 1 after the decals were pre-fired and before final fuse.
Test 1.
The decals were pre-fired on both pieces of glass. Notice that we cut one of the decals down the middle and spread each half out, leaving a 2mm gap between. The two layers of glass were arranged so that the decal on amber layer is on top and the decal on the french vanilla was sandwiched between the two layers. Check out the results of the final firing below.
Test 1 final fuse. We were very happy with the depth in this piece. Check out that 3D effect from where we cut the decal in two and spread the halves slightly. Awesome!
Test 2.
Test 2 Final fuse. Yes, the amber piece wasn't cut all that well. We were just making some tests so we decided to go with is.
Test 2. Here we show the amber face up on top. We flipped it over, as shown on the bottom there, to fire on top of the french vanilla.
This piece had some interesting unintended effects. First we pre-fired the black insect onto the amber glass. Then, in a second pre-firing, we covered that whole layer with the insect decal with a solid rectangle of platinum decal. We were very surprised to see that the insect decal reacted with the platinum, which completely disappeared in that second pre-firing. Weird.
The final fuse came out pretty nice though.
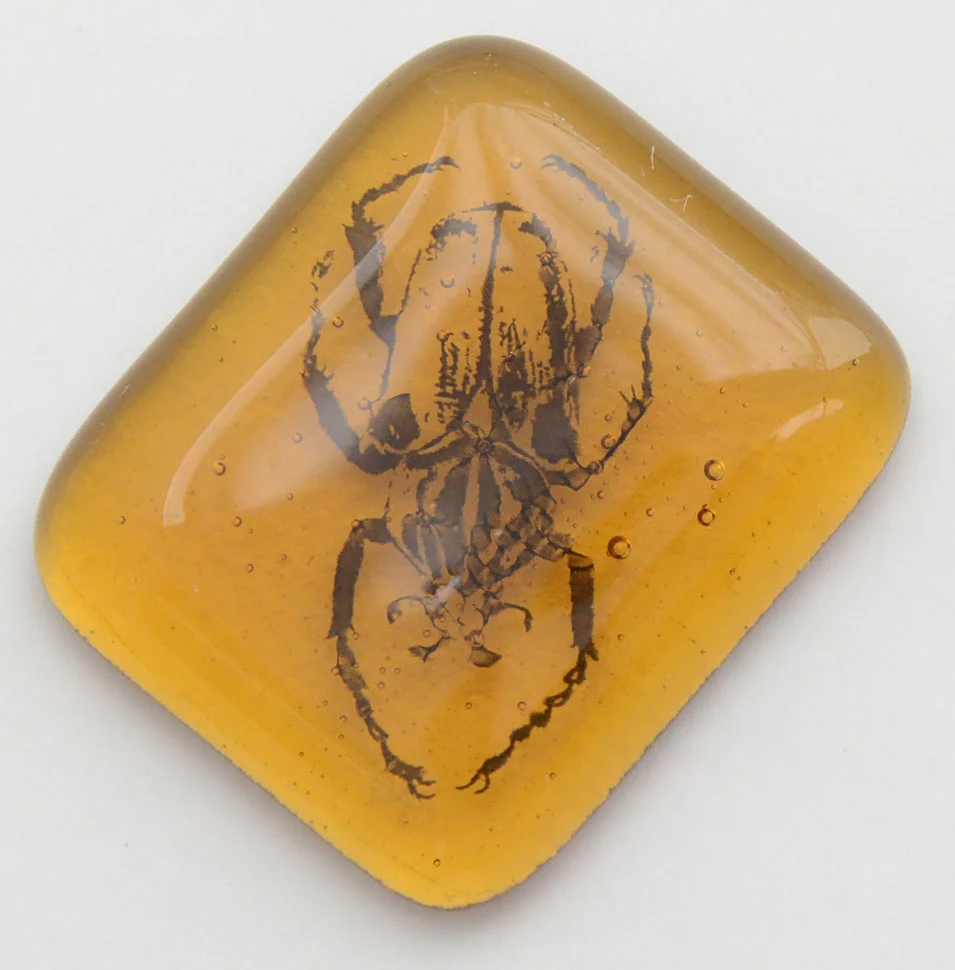
Test 3. Isn't that scarab just the cutest!?
test 3
This was a pretty straightforward piece. The black insect was pre-fired on amber and then sandwiched underneath an unadorned amber layer for the final fuse. We were really trying to maximize bubbles in this one so we made sure that the rough side of the glass were touching in the middle of the decal sandwich. Mmmnnnn! Deliciously bubbly!
Test 3 final fuse. Bubblicious!
Tests 4 and 5
These two tests are similar except for the fact that the top glass for test 4 is clear and the top glass for test 5 is amber. These two tests show well the different tones of amber one can achieve. Additionally, we trimmed about a 1mm strip from the gold decal on the clear glass to hopefully add some 3D effect.
Test 4 on the left. The clear with gold decal will go on top of the amber with the black decal. Test 5 on the right. The amber with gold decal will go on top of the amber with black decal.
We can't tell which we like more! Which is your favorite?
Like what you see? Check out the final part 3 of this series here. And don't forget to sign up for our newsletter for future tutorial news, sales and more!


